Back in the day when I was young and actually listened to wise older people my father said something that I never understood. He was describing a wooden ship that sank in the St. Lawrence River in heavy seas by saying she had “opened up” and sank. Opened up? How could a boat just open up?
I nodded sagely at the time, of course, not wanting to reveal my ignorance but now, (just 50 years later!) I understand. The ribs broke! How did I figure that out? Readers of this column (if any) will recall that just about a year ago I told the harrowing tale of having to replace the stem in my gracefully aging 77 year old sailboat. If you recall, I succeeded in getting the stem back together in time for the launch, only to suffer a near sinking because a very serious leak “opened up” in another part of the boat. An adrenaline-fueled beaching took place on the conveniently falling tide, and I discovered a three foot seam between two planks was not firmly closed as it was supposed to be, but gaping almost a quarter of an inch wide. In small boat terms that’s an enormous floodgate of a leak, (in maritime hyperbole, big enough for a whale to raise its young in), and the cause of considerable excitement among the Marina membership. The leak was right in the middle of the boat about 4″ on the wrong side of the waterline at what we call “the turn of the bilge” which is where the curvature of the hull is at its most extreme. So I caulked it full of space age putty and had a very pleasant summer after all.
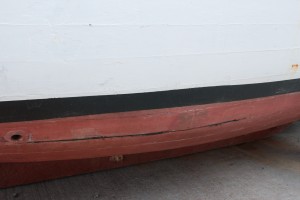
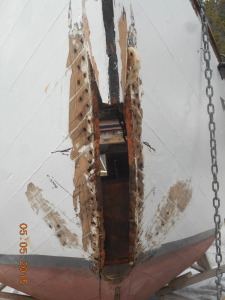
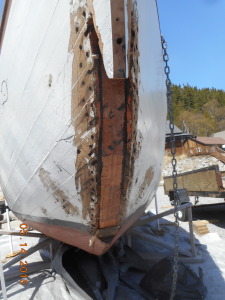
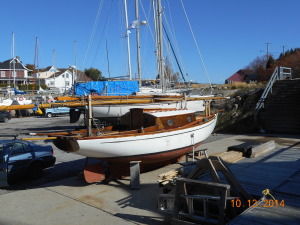
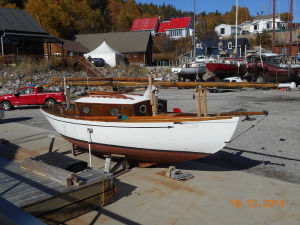
In October, however, the boats go back to the dry-dock for their winter sleep and it was then that I could tell that the hull shape wasn’t quite right. I pulled off one of the offending planks to find out what lies beneath, and what lay beneath was how a boat “opens up.” Four ribs in a row were all broken right along the plank seam at the most extreme curvature of the hull. If they could talk I’m sure the one in charge would have said, “You’ve retired. We’ve retired. Any questions?”
As a matter of fact I did have a few questions: How did that happen? How am I going to fix it? Is it worth fixing? (No, of course not, but when has that ever stopped me?) And the scariest one: is the other side the same? Happily some exploratory surgery revealed that the other side was fine, and in fact, aside from those four ribs, things all round did look to be pretty solid, structurally. So with my new-found knowledge of what it means for a boat to “open up” I optimistically promoted the ribs from “problem” to “interesting wood-working project.” Then I set about finding some white oak which is famous as a boat-building wood for situations where steam-bending is required, and is what all the ribs in my boat are made of as well as other structural members.
As a warm-up though, I also found a little rot on the other side of the boat and replaced a little piece of plank to remind myself how, and to get that smaller item off the list.
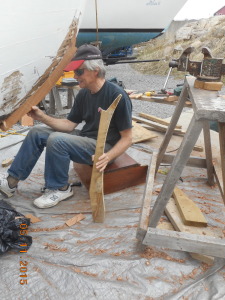
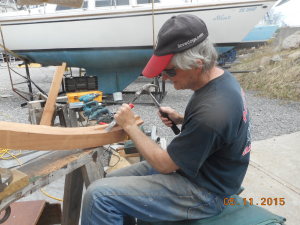
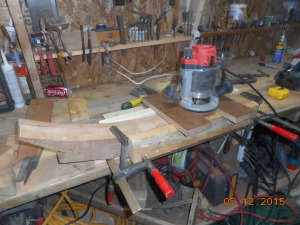
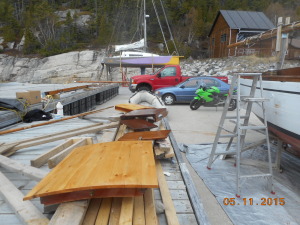
It was spring before I’d figured out how to do this little project and had the required materials. I made a steam-box and cleared away much of the interior around the ribs to be repaired. Then came the steam-bending and rib replacement.
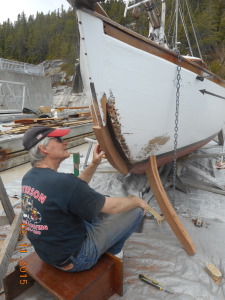
You’ll be astounded to hear it didn’t go smoothly. The first problem was that most of the ribs have very important structural members (called floors) on top of them so the ribs can’t be removed without them coming out too. Envision a very wide but short isoceles triangle mounted pointy side down going across the boat. The point is actually flattened and rests on the keel and the two angled sides run up on opposite ribs to hold the two sides of the boat together. I had put in several of these over the years, bolting them right through the boat, and I didn’t want to remove them. This meant that I would have to put the new ribs beside the old, instead of in place of the old. The one floor I had not previously replaced was a tad rotten and came out in about 27 pieces, large and small. (I later jigsaw puzzled it back together to make a pattern for a new one!)
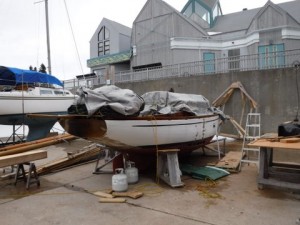
Problem two: The first rib to be bent got halfway there and then snapped like a dry twig. The next bent beautifully but I discovered it couldn’t fit in the boat. There’s a vital longitudinal stringer in the interior of the boat over the ribs which any new rib has to slide under. The curvature is extreme in that location and I simply could not get the end of the rib to pass under it and slide up into position.
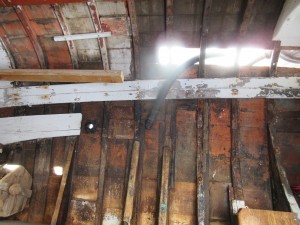
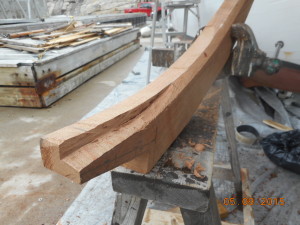
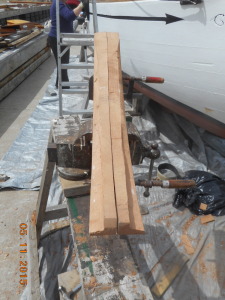
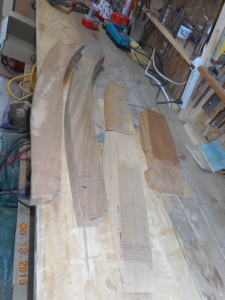
Plan B meant ripping the new ribs lengthwise to make them thinner, steaming them, and sliding them in so that one thin rib lay on top of the other to make one thick rib. After they had been clamped in place long enough to take the shape and dry out, they could then be epoxied together to make one laminated rib. This actually worked very well, and went quite quickly. So there was a thin layer of sealant on the planking followed by a thin rib painted out with epoxy, then a second thin rib also sealed in epoxy, all then jammed and clamped in place so that it could be screwed in from outside the planking to secure it once and for all. I sometimes wonder how many holes I have drilled through this boat all in a contradictory effort to convince it to float!
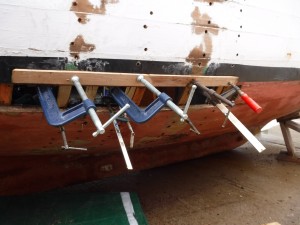
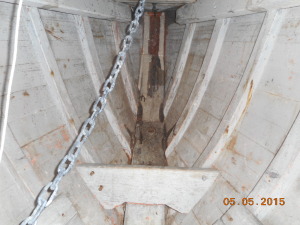
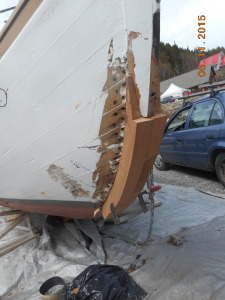
All the screws are counter-sunk deeply enough into the planking to get plugs over them later. The new wood in this picture is just temporary to protect the planking from being bruised by the clamps. After their removal you can see the new ribs in place alongside the old, retired guys. The right hand
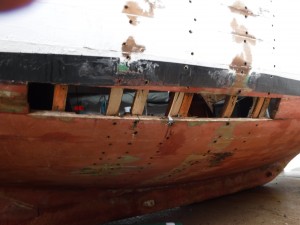
one is sistered. The next replaced the old rib and got a new floor on top. The middle one is sistered, and the next looks to be doubled but I had to do the top end on one side of it and the bottom on the other side because of interior obstructions (a deck knee at one side and a butt block at the other.) The left hand rib was still good and didn’t need repair.

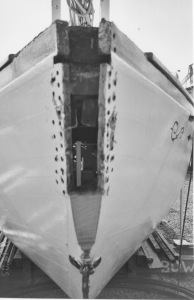
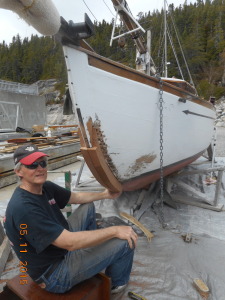
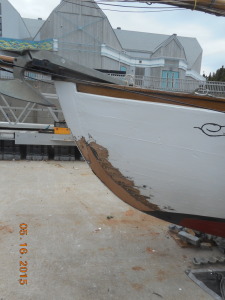
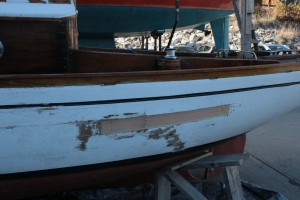
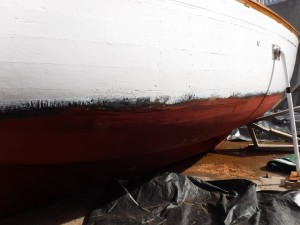
Finally, three days before launch, I got the new plank in place. I didn’t get a great picture of it till I already had it painted which is this lower picture without the waterline in place.
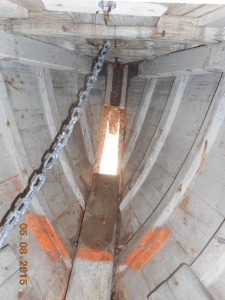
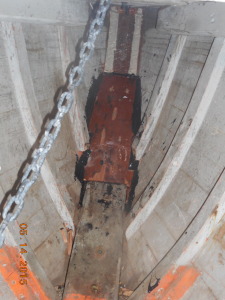
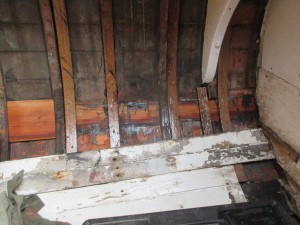
And from the inside after the launch:
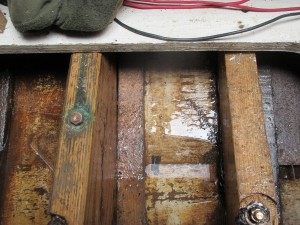
The less interesting task was installing the new floor timber which is that two inch thick hunk of oak that is bolted right through the hull. This is one reason I’m a little more confident this year about the structural integrity of the hull.
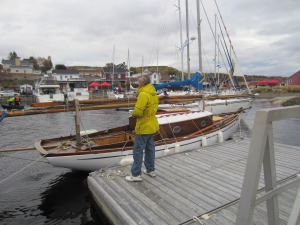
Did everything go smoothly at the launch this year? Well. First the water came in in a mighty torrent and one of the bilge pumps worked fine, then stopped working, then worked again. I still don’t know why. We’d installed a new shift linkage and discovered we got it backwards so that now when you put the motor in forward it goes in reverse and vice versa. Then as we made our triumphant way to the dry dock gates the engine quit! That just turned out to be an airlock, but then halfway to the marina the engine quit a second time. (It agreed to carry on after I promised it an oil change and better diesel fuel.) The next day we successfully stepped the masts . . . and then it snowed!
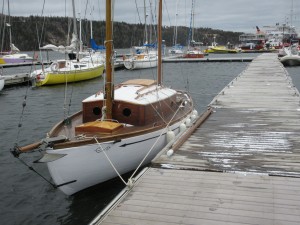
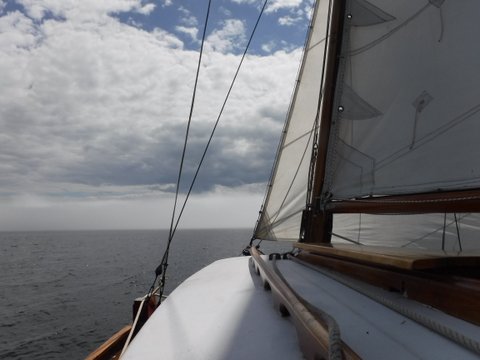
BUT when Jane and I took her out for the first sail of the season she romped across the bay with the confident feel of the classic she is. Maybe all this work is worth it after all. And the only thing that “opened up” was the boating season! (So far…)
